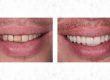
So here is another cool little case that I just finished, here is the before/after shot of the smile.


Here are the pre-ops:


Ortho Assessment
So in this post, I am not going to go into a lot of detail about the ortho – because thats easy bit!
Right side Class 1 canines, Left side1/2 unit class 2, with mild lower crowding, and a little upper spacing. With the lowers, once they are straightened, the incisors will probably tip forward, so some IPR there might be a good idea.
The plan is to level and align, not aiming to correct the left canine class 2.
With the uppers, the peg laterals need addressing, so we discussed either porcelain or composite – the patient was undecided at the beginning of treatment.
Lets listen to the patient for a second!
The main reason the patient called the clinic was that she didn’t like how big her front teeth are. She felt that braces would help her, and she had done some research, so she knew about linguals.
Cosmetic Dental Problem List
For the upper teeth, there are several things that are making the front teeth look big, and destroy the harmony in the smile.
- The gingival margins are not symmetrical
- The tooth width proportions (golden proportion) is all wrong! The laterals are too small, and canines look wide
- The height width of the centrals is not the same
- The midline is canted
- The incisal edges are not parallel to the lower lip
If I overlay what I am imagining in my head to the pre-op, then these things look more obvious.
 Now I know that all the cosmetic problems can be addressed with ortho and veneers, the plan is taking shape!
The only thing I will not correct fully, is the proclination, however this will improve with the ortho. The patient is fine with this, so I took impressions and photos, and sent the whole lot to Sue at Wired Orthodontics.
You can find out more about Wired Orthodontics, and they do a whole bunch of really good ortho courses aimed at people with a little ortho knowledge.
The Set Up
For those of you who are not familiar with lingual braces, first you have a kesling set up done, then from that the brace is made. This means the brace is 100% customised for the patient, and the anticipated outcome.
For this reason, its really important that Sue sets the laterals in a little (which she did). This means that I don’t need to do any prep – just in case the patient chooses porcelain veneers after the ortho.


For the set up, the right side is now in class 1, and this can be replicated in the mouth (with the use of the right mechanics). I didn’t actually end up doing this because we ran out of time, the patient told me that she was leaving the country – so we had to cut the ortho a little short.
This case was still levelled and aligned, but not finished in class 1, and the space mesial to the LL6 still remained (although reduced)
To keep things simple, the steps to the ortho were:
- Get the brackets on
- Work up the wire sequence
- Debond and retain
Okay, it was a little more than that, but not that much more!
And now for the fun bit


She decided that she would prefer the porcelain veneers, so the process of doing this is:
- Prep. In this case, it was non prep, there is a clear path of insertion, and because the teeth are set up a little lingual, there is no need for labial prep.
- I did actually prep the UL1 incisally, to get the edges level
- Take the impression (having removed the fixed retainer)
- Build up the laterals using flow, and shape to look right. Paying extra attention to the line angles. This is what the lab is going to copy.
- Replace fixed retainer
- Take an impression at the veneer review, having made any changes that the patient wants.
For these veneers, I used Densign. Because they ‘get’ what I want… well, usually!
The cool thing about them is that they scan the model, then scan the patient approved provisional model… Then do some magic, and end up with a really good copy of the provisional that I have painstakingly crafted!
Unfortunately this didn’t work perfectly, this is a photo of the first try in:


I didn’t like the distal and incisal edges of the veneers, so I explained the issues to the lab, and they fixed this really quickly.
Lets not worry about the contraptions that are going on – on the left side – this was a little experiment 😉
The second time around, the guys at Densign did a fantastic job – take a look!
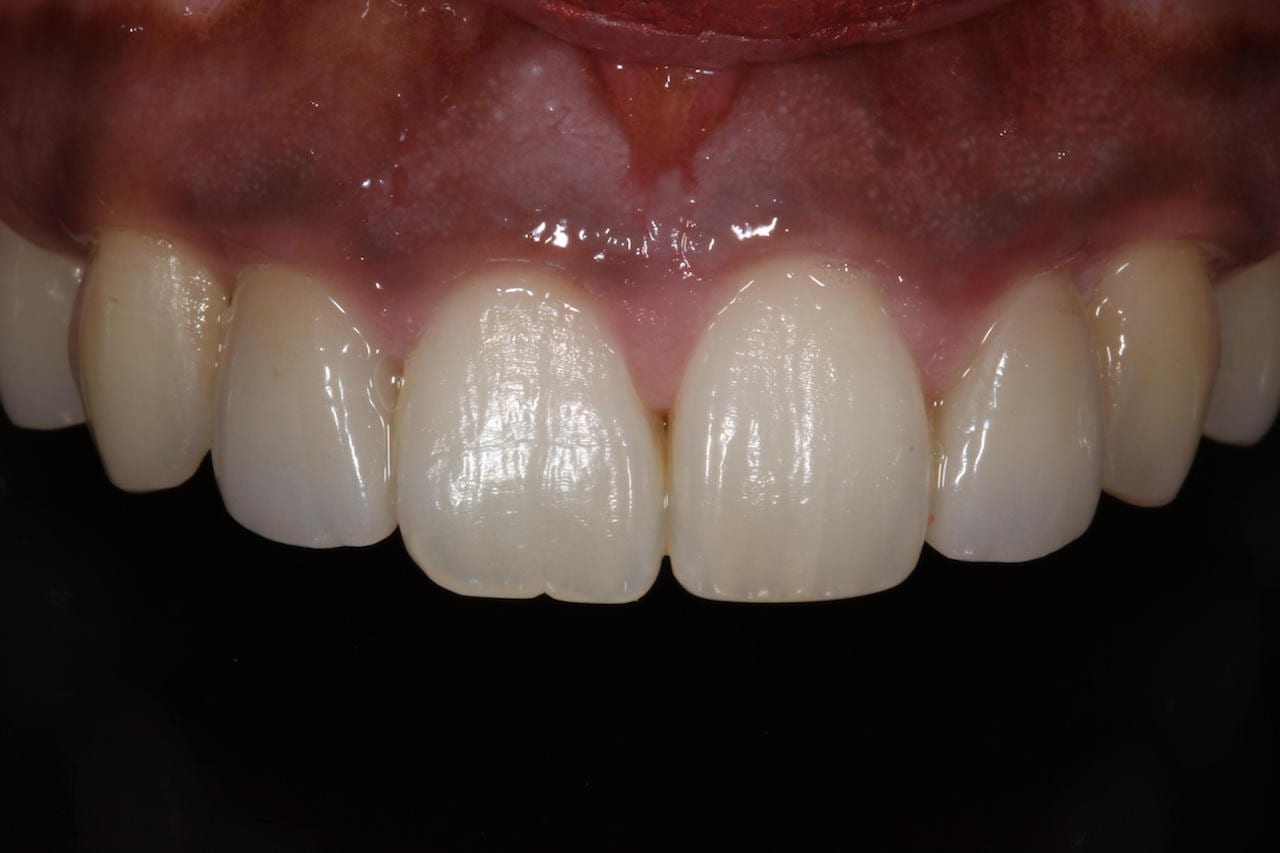


So, she was really happy with the result, and as always the main objective to have a happy patient!
The teeth don’t look overly proclined now, we have restored the golden proportion, and she has a really naturally looking great smile.
Patient happy – job done!
If you enjoyed this, like my facebook page to see more cases explained.