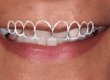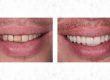
The story for this guy is that he came to see a referring dentist of mine, asking for veneers to improve his smile.
Now, its pretty clear that veneers will not be able to give this guy the smile he is looking for.
The plan was to ‘jump the bite’ with the upper incisors, and make veneer treatment minimal prep.
Anyway, here are the pre – ops:
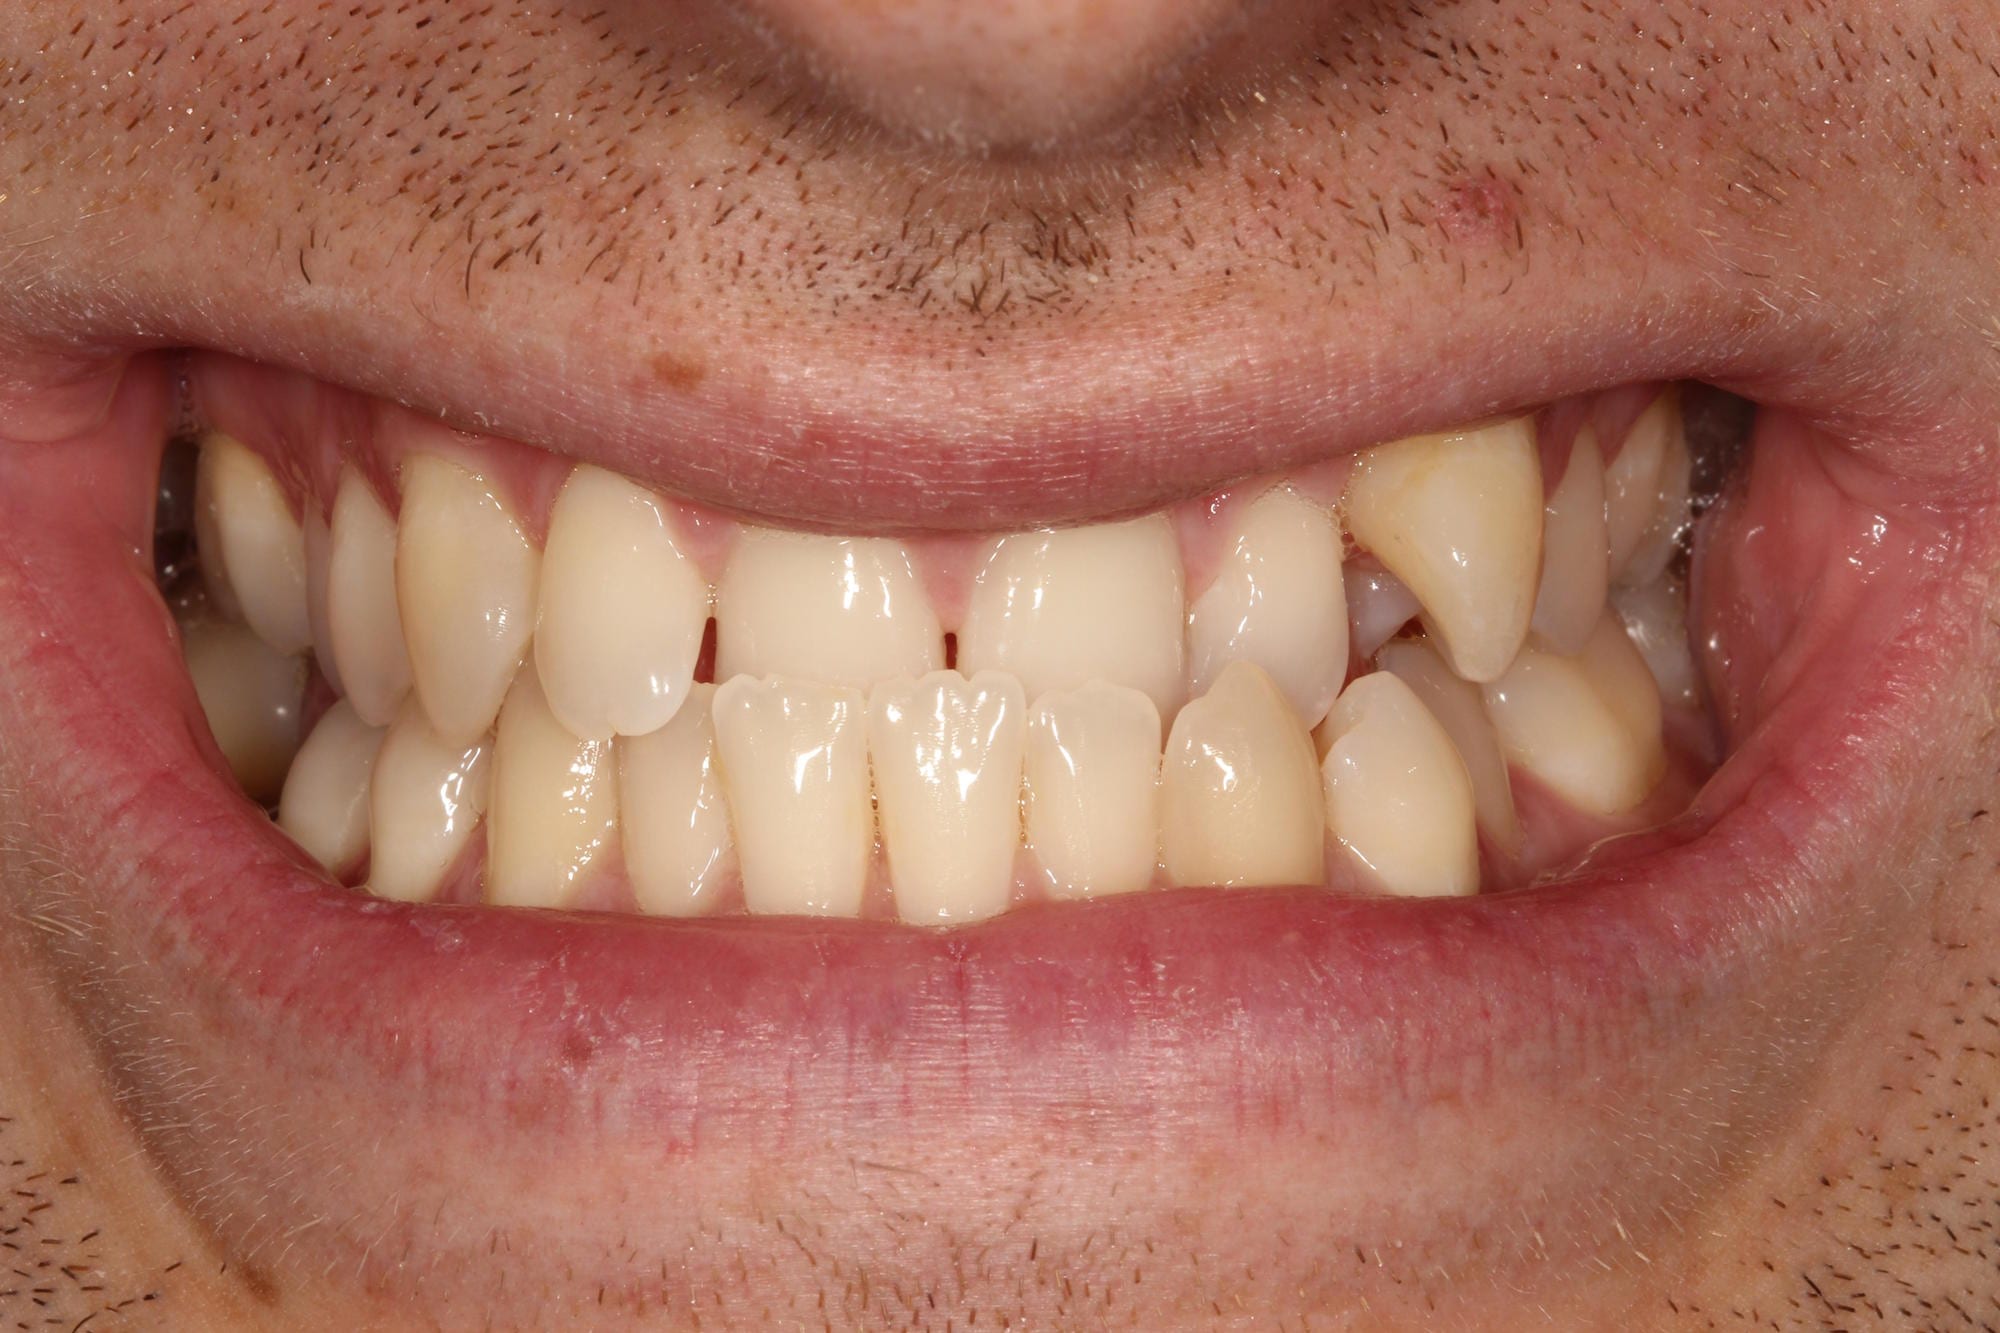


Analysis
So, we are only really interested in the front teeth, and the patient is only up for single arch ortho – he feels his lower teeth are fine. And to be honest, I cant achieve a lot more by bonding up the lowers.
The important things for reverse overjet cases like this are:
- Can the patient posture to an edge to edge relationship?
- What is the potential canine relationship
- Is the overbite normal or reduced (it normally is in SK3 bases)
The good news is that in this case, the patient can get edge to edge.
On the right side the canines are in class 1.
On the left, its not so clear, but the molars are 1/2 unit class 3, as are the premolars, its reasonable to think that the canine is potentially 1/2 unit class 3 as well.
Taking this into account, its reasonable to think that if we just do levelling and aligning, then one side canine is class 1, and other side is a little class 3, then we potentially have spacing in the upper arch.
This is sometimes quite a tricky thing to visualise, so take your time, think about it and really understand it.
If canines are class 1, and the overbite is normal, and all the teeth are normal sized, then its likely that everything will fit without spaces.
This was discussed with the patient, and its not that big a deal, because we are planning veneers post ortho.
Treatment


The treatment progressed normally, so bonded up, wire sequence was probably 14niti, 18niti then 18ss.
As you can see in these mid treatment photos, the UL3 is pulling the rest of the teeth up (intruding). This is because it has a large root. Because of this, the vertical anchorage of the UL3 is winning against the incisors, so the incisors are intruding.
Because we are in a 18ss wire, over time, the teeth will level out, and the canine will eventually drop.
I think I even went a step further, and used a 18-25 ss wire, just to have a stiffer wire.
One thing to note is we need a bite raiser. As the incisors need to jump the bite, the bite needs to be opened, then the A-P movement can happen, then remove the bite raiser to close the bite again.
The position of the bite raisers is the lingual of the lower incisors.

Be careful doing this, as the bite raiser can put an orthodontic force on the lower teeth, causing them to move. You can make a clear aligner to straighten the lowers again, or maybe start with a clear retainer on the lowers to be extra safe.
On the photos above, you can see the spacing between the UL2/3. This is what we predicted at the beginning – there is a powerchain trying to mesialise the canine, moving the space distal to the canine.
The End Result


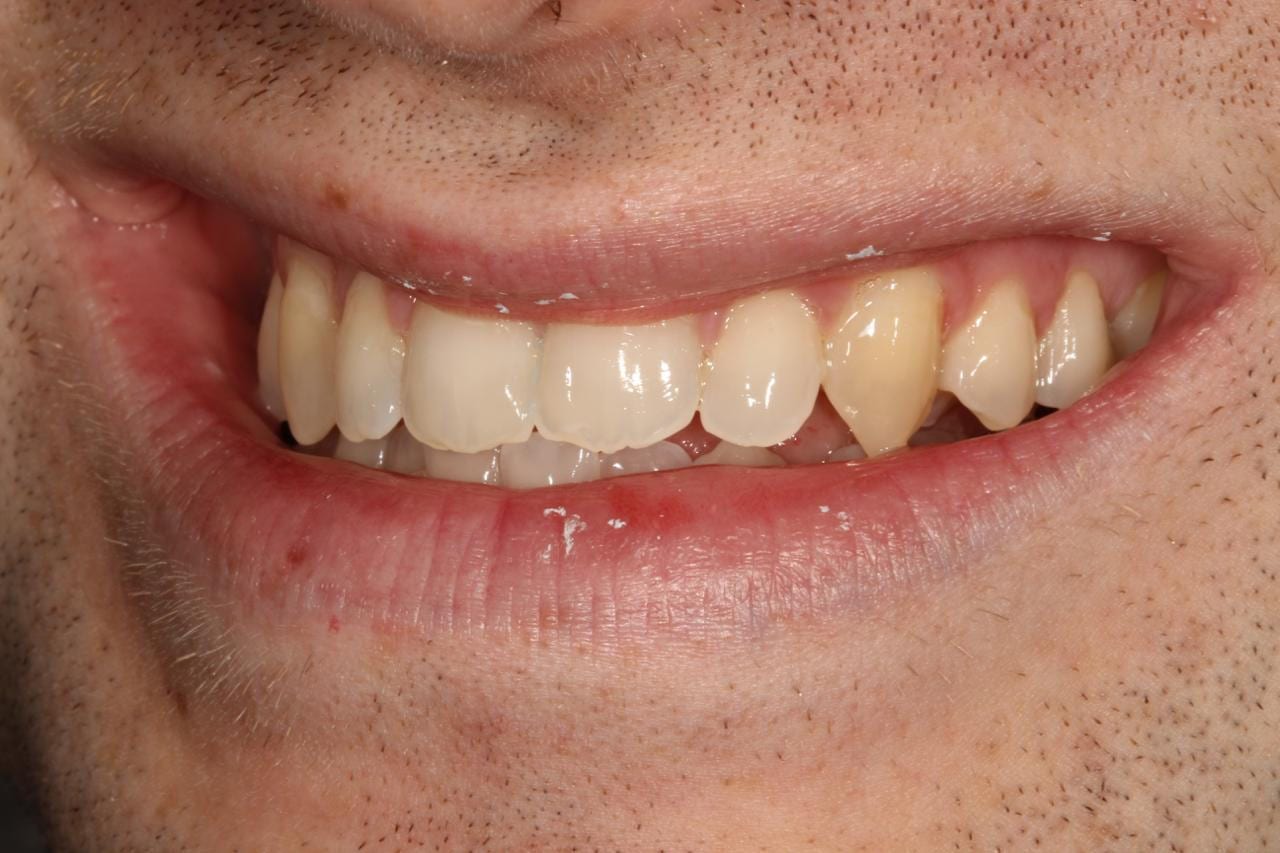
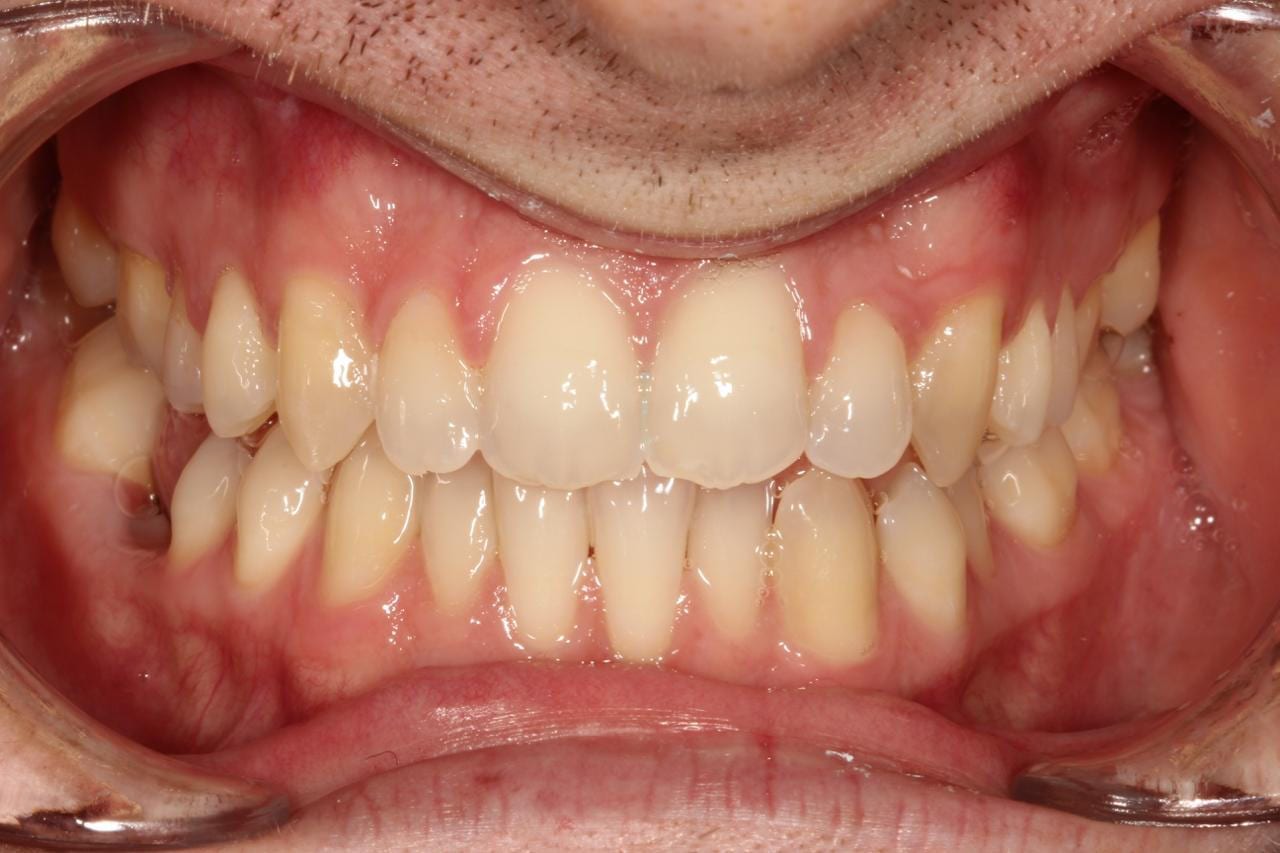


So I sent the photos to the referring dentist BEFORE the debond, and we debonded it.
You can see that we have a space distal to the canine – remember we predicted this!!!
We are also 1/2 unit class 3 on the left, like we predicted.
On the right side, the canine has moved a little class 2 – this is because of the powerchain tipping the canines forward to close the spaces created by the rounding out.
Making the veneers easy
Now the teeth are in the right place, the veneer work can be minimal prep – excellent for bonding and long term health.


The pictures above are the trial smile – the veneers are additive, and these are luxatemp veneers, which are customised in the mouth.
This patient lives really far away, and although the final veneers have been fitted the patient has not been back for his veneer review, so we do not have the final veneer photos. yet!
If you liked this, please ‘like’ it on Facebook etc, and share with your friends.