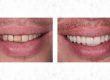

This is a cool little case I treated a few years ago – and back then my photography was average! So I apologize for some of the photos, but you should get the idea!
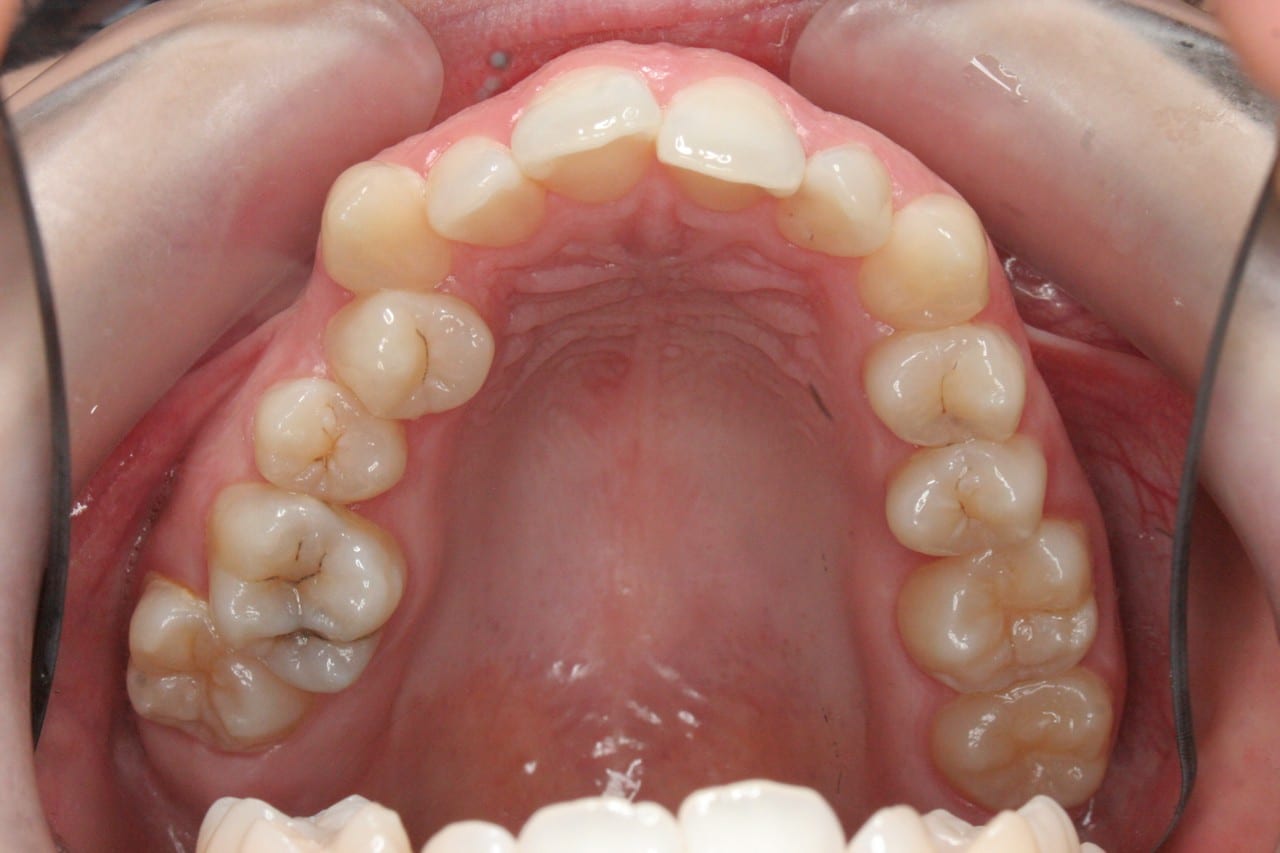
Ok, so lets get on with it, these are the pre op intra oral photos.


This lady didn’t want her facial photos shared online, so you will have to take my word that the extra oral exam was something like this:
Skeletal 2 Base (mild)
FMPA: Average
Nasio Labial angle: greater than 90 degrees
Lower face height: Average
No obvious asymmetries
Intra oral, we can see that the canines are both class 2, and the overbite is average. This suggests that anteriorly, there will probably be an increased overjet once everything is aligned.
This lady just wanted her upper teeth aligned, and the main problem for her was the upper front teeth, and the canines stuck out too much.
We had a chat, and I said this was possible, but I really wanted to sort out the upper right side too! She agreed to this (to be honest, this would have been sorted out anyway!)
Now anyone who has been on a one day fixed STO course (or even an aligners course) can sort out the upper front teeth, its the right side that is way more interesting here.
Lets take a minute to understand what is going to happen in this case, and how we are going to sort out her main concerns:
The problem list:
U/- Crowding (mild canine-canine, moderate on buccal… we will come back to this)
-/L Spacing (not going to be addressed)
Deep curve of spee – over eruption of upper buccal section
UR 4 and 6 in Cross Bite
On the upper right side, we need to intrude the teeth, and move them more buccally. This movement is going to ‘create’ space. Even the front teeth need space, and they are slightly retroclined, so we can get away with a little proclination here.
Space Requirements
Now, if you have been on the QST course, you will have heard about how to calculate your space requirements, and there are a whole bunch of ways (even though we just teach three, to keep things simple).
Eyeballing the case here is not really that helpful, because the plan is to round out a little on the buccal and labial.
You could put the photo through an online space calculator, this allows you to redefine where you want the incisal edges to be, and therefore the shape of the new arch. It is important to keep the canines where they are.
In my minds eye, it looks like the UR7 is in the right place, so the 6,5,4 have all slipped palatally, as well as over erupted.

In this screenshot, you can see that the space analysing tool suggests that I actually have potential spacing of 1.3mm! You always need to be cautious with tools like this, they are pretty good, but by no means perfect! My fall back here is IPR if we need it. So the conversation with my patient went something like this:
“…So as the teeth align, we might have two problems, first the teeth may not have enough room to move, and may get stuck. The second is that the front teeth might tip forward a little too much. In either case, we may need to file a tiny bit between the teeth, where you would normally floss them…”
So thats one problem potentially solved!
Now, the second problem is : how are we going to intrude the teeth in the upper right buccal segment? And more importantly: how stable is this going to be?
Lets answer the second part first. This is not going to be very stable: as we are just doing the top teeth.
In the end, there will not be any occlusion on this side.
Over time we can expect bucal settling – and this will most likely be the top teeth dropping down again!
So this was all talked about before we started, and the patient was happy with this.
Now, the intrusion, this is where things get really interesting 😉
If we bonded 6-6, there is not going to be much intrusion… Unless you use a TAD. In this case, we need to consider bonding the 7 on the right side.
As the 7 is in occlusion, and the canine is in occlusion, the net result of the fixed appliance will be to intrude the teeth. The reason for this is that extrusion force on the canine and second molar is being opposed by the tooth in the opposite arch – meaning there is no net force on these teeth.
If you look occlusally, bonding the 7 will also help to tip the teeth buccally, giving us more room to alleviate the alignment. Good times!
Now, the Boring Bit
Now that the case it planned, we are going to go through the wire sequence. I think I started on a 0.012niti, and worked up to a 0.018niti, and this is how it all progressed:



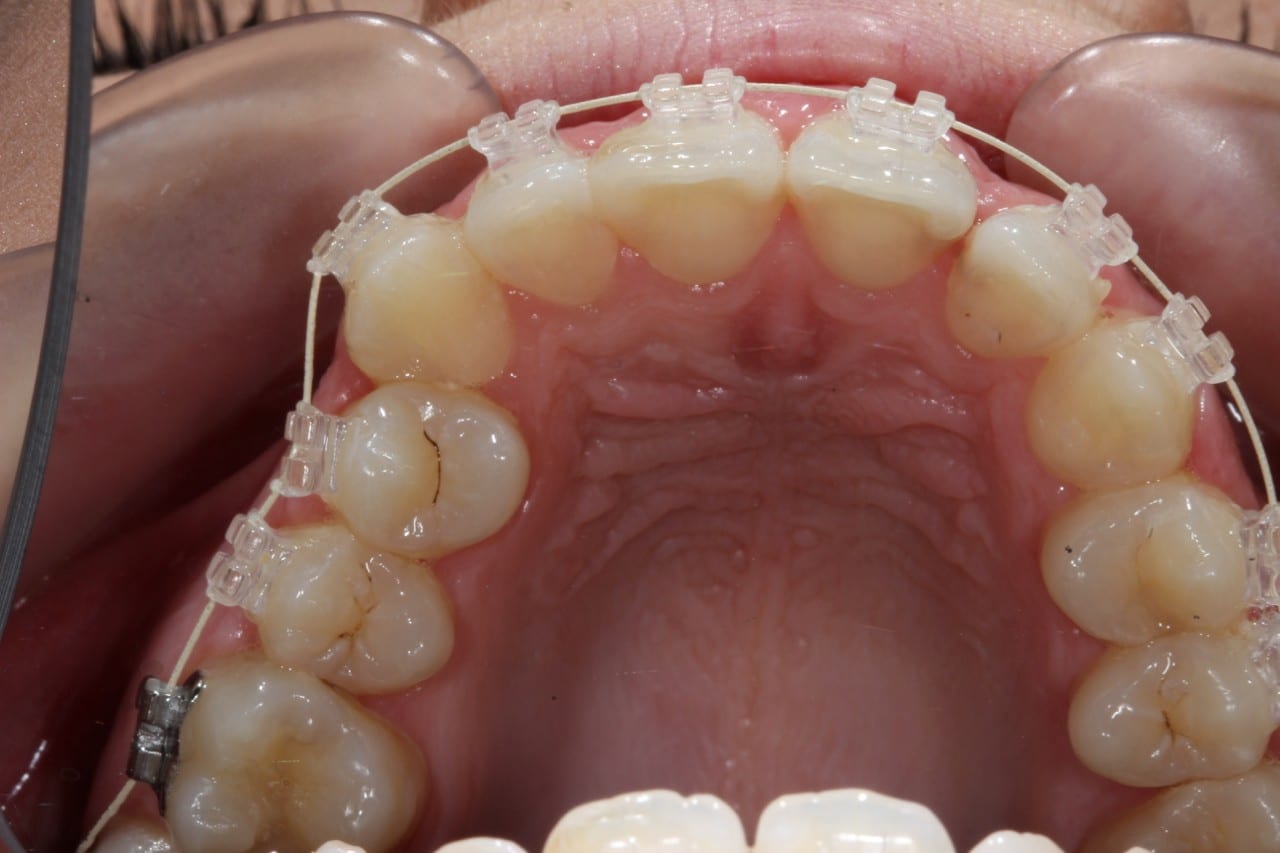

Simple – right!
Just go through all the simple steps at the diagnosis stage, and there won’t be any surprises! And this case was completed without any IPR.
For retainers, you can see the fixer retainer in position, but in addition, I always provide and recommend a removable vacuum formed retainer.
Unfortunately, this patient didn’t come in after the retainers were fitted, so these are the latest photos I have.
I hope you learned something – now go and do it in your clinic 🙂